3 Easy Kids Xmas Crafts that Don’t Break the Bank
These easy and budget-friendly Christmas Crafts will keep your children entertained this Christmas.
The outdoor experts at Millets have put together a series of Christmas crafts to get the family both outside foraging and crafty at home, creating handmade keepsakes which can be kept for years to come.
From handmade baubles, to Christmas cards and all the way to wreaths, Millets will show you how to make something with love.
How to Make a Christmas Wreath
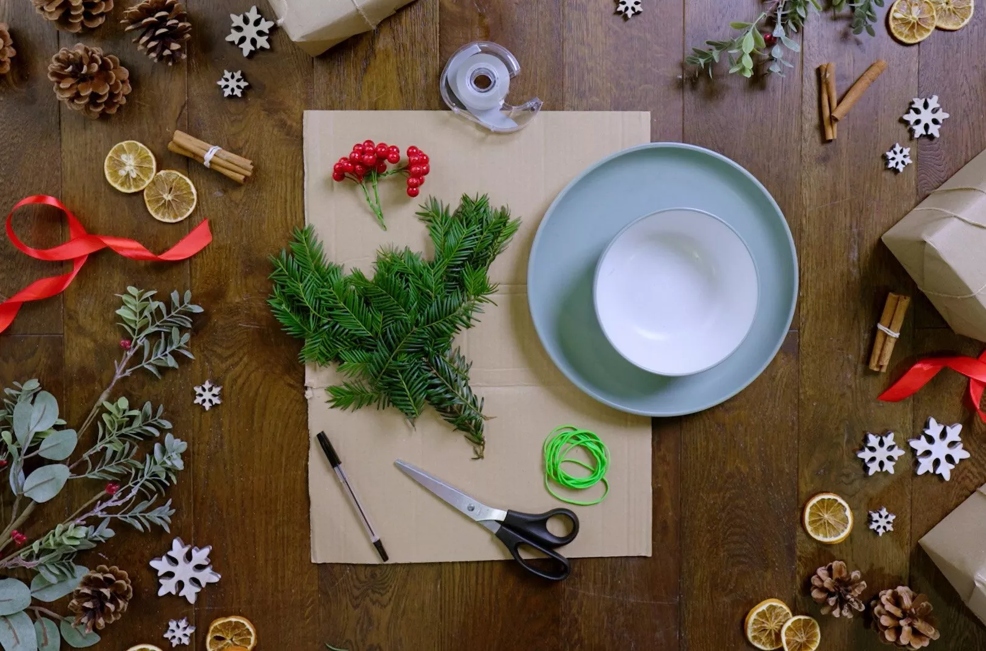
Supplies:
- Small bowl and large bowl/plates
- Cardboard
- Elastic bands
- Berries (fake or non-poisonous)
- String/twine
- Pencil
- Leaves/pine
Step one: Draw around the bowls.
Starting with the big one, draw around your bowls or plates, with the smallest in the middle. This creates the wide ring that will be the wreath.Then it’s time to cut it out, cutting through the circle (but don’t worry, we will tape that up later).
Step two: Wrap around the elastic bands.
Now you have your base, grab your elastic bands and place them evenly over the circle. Create an X so inserting your pine is easy. Then, secure the slot that you cut through with some sticky tape.
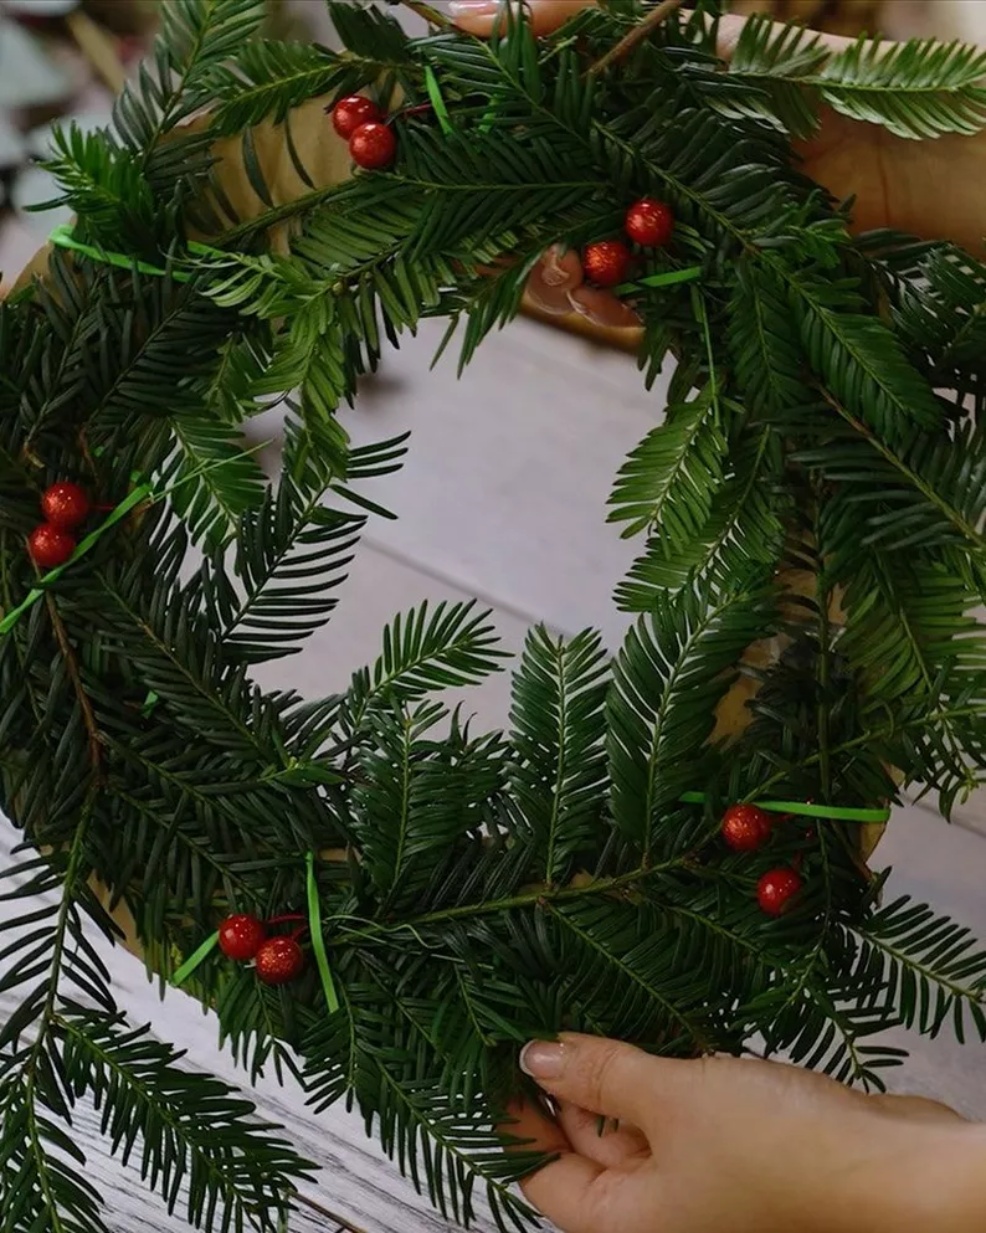
Step three: Slot in the pine.
First of all, you’ll need to get your coat on and pick some pine. Or any leaves you can find and want to put in your wreath! Then simply slot them in through your elastic bands.
Try and do it so the elastic bands are covered, so you get the best look you can! Then pop in the berries – they usually look best in pairs!
Step four: Twine time.
Tie some twin around your wreath, keeping it central, and then it’s ready to hang on the back of your door. Voila!
How to Make a Pinecone Bauble
Supplies:
- Acrylic paint
- Glue gun
- Pinecone
- Paintbrushes
- String/twine
- Pom poms
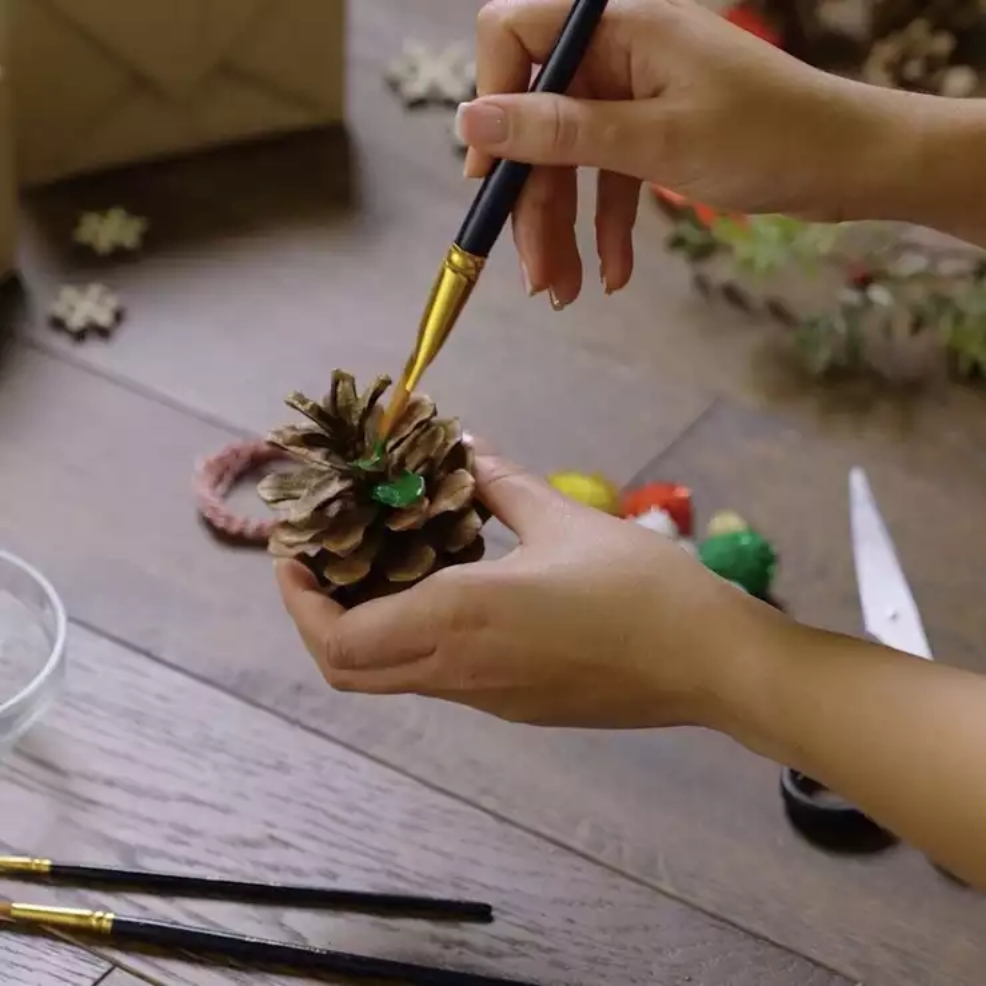
Step one: find and paint your pinecone.
Pop your boots on and find the best pinecone you can. Now it’s time to paint it.
Get your hands on some paint – we went classic with green, but you can pick any colour you like! Make sure to do the underside as well so it’s covered on all angles. Remember to wait for it to dry until we move on to the next step.
 Step two: attaching the pom poms.
You will need a glue gun for this part, so remember to get an adult to help out as they’re very hot!
Pick the pom poms you’re using and simply glue them on and then allow them to dry.
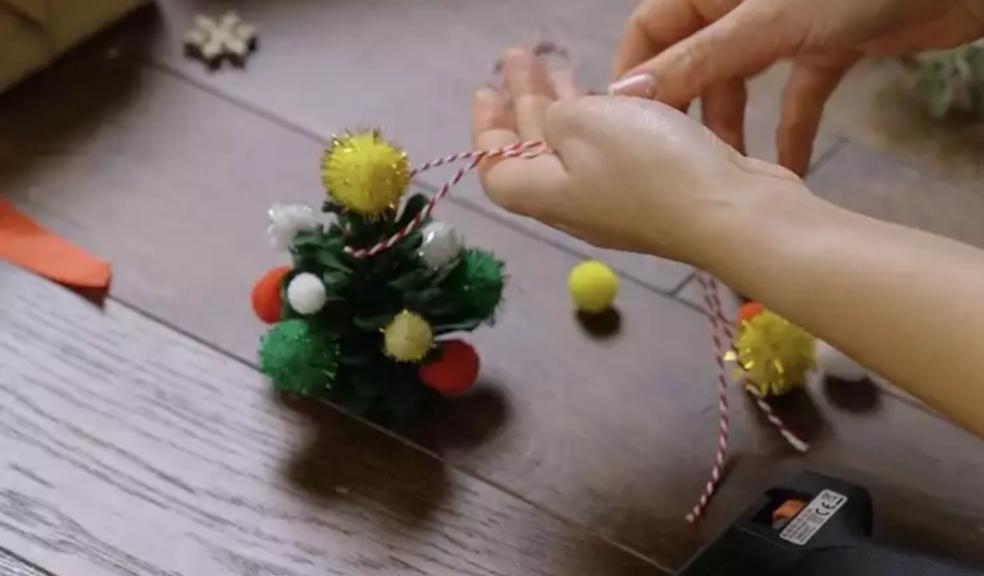
Step three: attach the string.
Wrap your string, twine, ribbon or whatever else you are using, around the top of the pinecone. Then, leaving a gap so it has place to hang, tie it in another knot and cut off the rest.
Then hang it on the Christmas tree, or anywhere else you fancy!
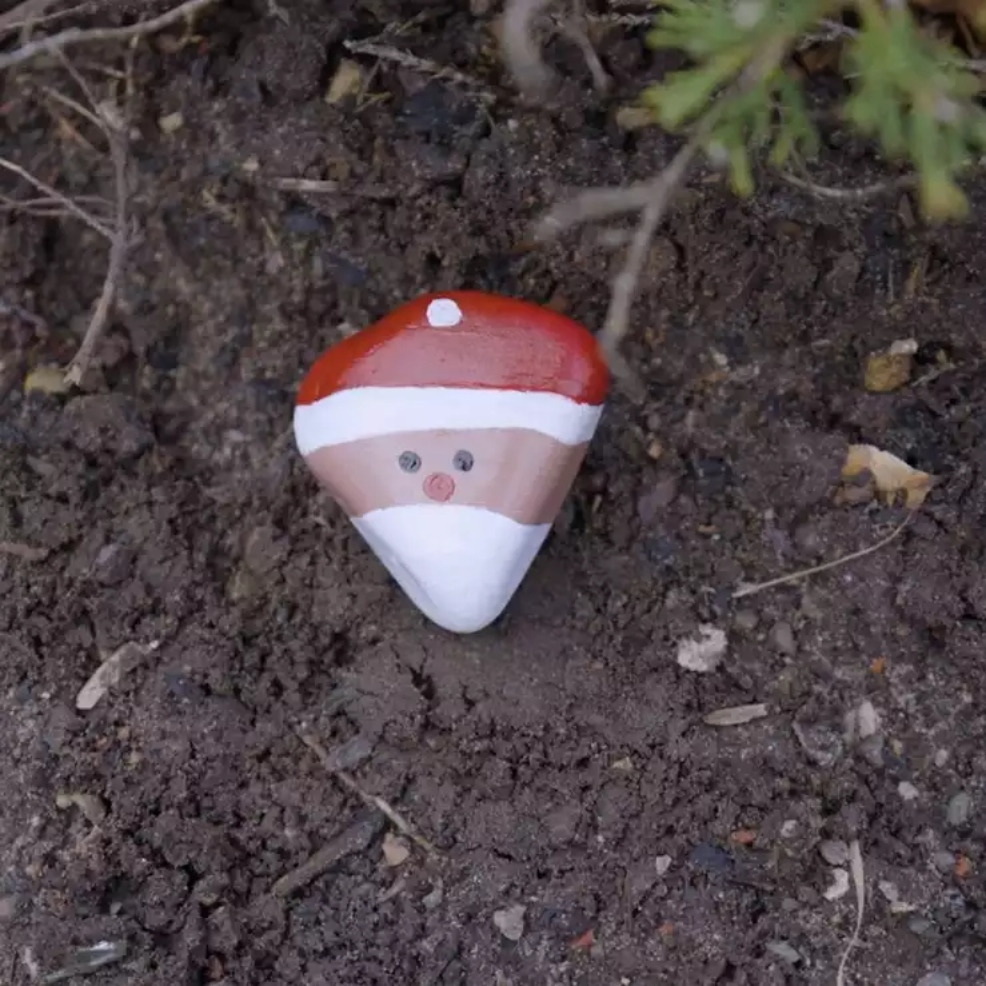
How to Paint a Santa Stone
 Supplies:
- Outdoor/Acrylic paint
- Outdoor varnish/sealer
- Smooth rocks
- Paintbrushes
Step one: Find your rock and get painting.
Here comes the time to get outside. Get your shoes on and see if you can find the flattest pebble of all. It will help to have a few – that way, you can make a collection or have some to test on!
And now it's time to get painting. Remember, if you’re not sure how to paint Santa, you can follow our video linked below.
Once you have painted it, let it dry and then add a layer of varnish or sealer on. This will keep it protected outside.
Step two: Find a home.
Once you’ve finished painting, sealing and letting it dry, it’s time to give your art a home. Perhaps you have a flower bed that needs a bit of Christmas spirit, or a front lawn that could do with some joy. Pop it down and let your neighbours and friends admire!