
Creating Halloween Ribbon Wreaths: A Tween-Friendly Craft for Parents Looking for Spooky Activities That Won't Break the Bank
If you’re looking for something to occupy the little ones this spooky season, beyond toffee apples and traipsing from door-to-door in search of sweets, you’re in for a real treat. (And certainly, no tricks!)
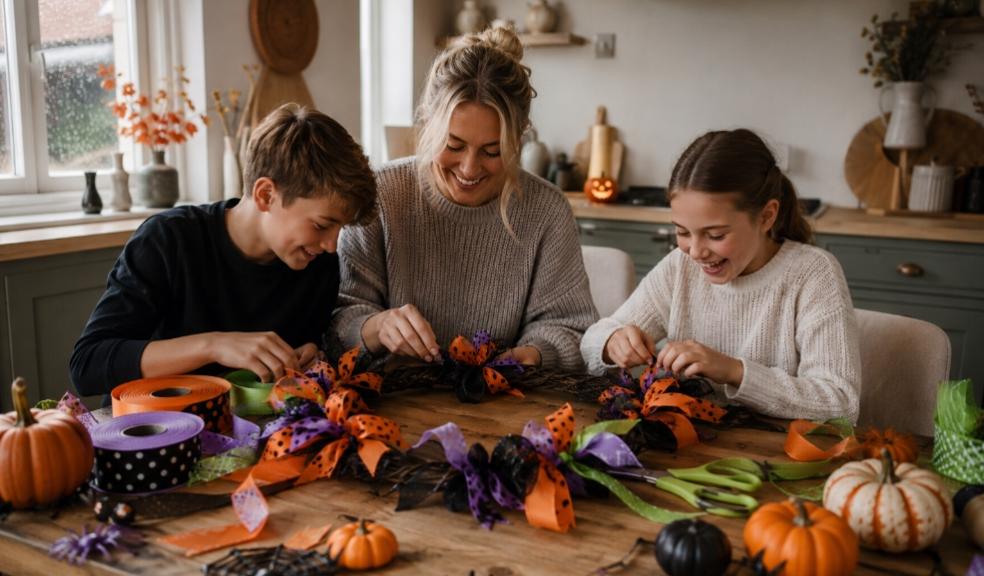
Because in this tween-friendly guide, I’m going to spill the tea on how to create a spooktacular Halloween ribbon wreath that will gather the whole family together as the days steadily draw in.
Simple enough for 7+ year-olds to get involved, but with enough steps and skills to keep them interested, this project is such a fun way to bond, all the while getting your home looking Halloween-ready.
The rainy days are mounting up, so what better way to spend them as October 31st inevitably hurtles towards us?
Halloween Wreaths: The Perfect Autumn Rainy Day Craft
If you’re looking for a seasonal activity to experience with the kids this autumn, then these quirky Halloween wreaths can’t be passed up.
Compared to days out, this project is much more affordable since it only requires sourcing a handful of materials, helping parents weather the ongoing cost of living pinch. Indeed, if current UK spending habits are our yardstick, you’re probably spending more in the run up to Halloween than you used to and earlier than ever before. So, you might as well make your disposable income go as far as possible.
Beyond the finances, though, there are tons of intangible benefits to reap. Crafting with your child brings ample opportunity for creativity and helps them practice using their fine motor skills – perfect family time fodder. And on the parent side, it’s a wonderfully therapeutic activity, well, provided the ‘little terrors’ properly get stuck in without distraction…
Your Essential Tools & Materials
No need to go out of your way, searching high and low, for what you need for this project. If you don’t already have a decent crafting kit, you can find all of these items easily and inexpensively at your local craft shop or online.
Get your hands on…
- 5 rolls of wired ribbon, at least 6cm wide and in 2+ shades for variety
- A premade wreath ring (you can pick these up from The Range or Hobbycraft)
- Tying material, either twine, pipe cleaners or extra thin ribbon
- Bonus decorative touches, such as bows, faux botanicals, mini pumpkins and charms
- Child-safe fabric scissors
- Measuring tape
- A cutting mat to protect your crafting surface
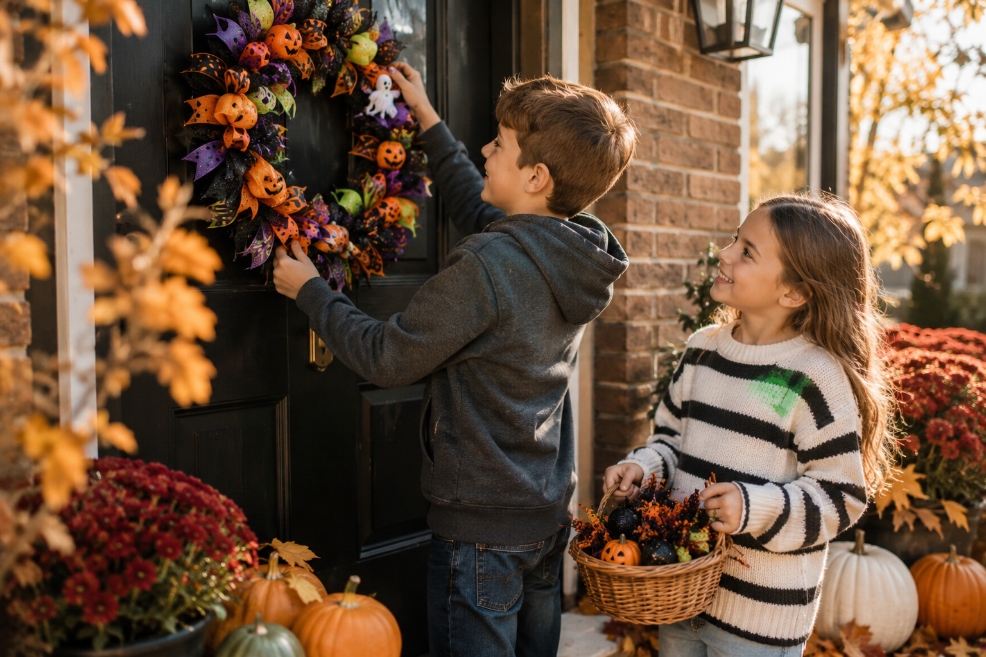
Get Your Child to Help Pick Out a Spooktacular Colour Scheme
This is where the bulk of the creativity happens: shaping the overall look of your wreath.
Whether Scooby Doo-coded, something along the lines of The Nightmare Before Christmas or Wicked, classic pumpkin orange or something based on a particular character, allowing your child to choose the ribbons gives them agency and lets them flex their creative muscles.
If your little one is having a hard time deciding, here are a few ideas as a springboard:
- Jack o’ lantern: Iconic pumpkin orange as your primary shade, plus slime green and a few pops of black and a mid-tone purple.
- Haunted house: Borrow from Coraline’s colour grading, with a mix of purples, from inky indigo to lilac, and incorporate electric blue and a shock of yellow.
- Vampiric: Stick to regal red, black and white. Bonus points if you pick indulgent velvet ribbon or another material Dracula would approve of.
- Bone toned: Go monochrome for a skeleton-inspired look.
Top tip: If in doubt, you can always pick novelty ribbons printed with seasonal patterns. This way it’s immediately obvious your wreath is for Halloween, and there’s less indecision for you and the kids.
Making a Wired Ribbon Wreath in 4 Spookily Simple Steps
Crafting time: ≤ 2 hours
Difficulty: Beginner-friendly for ages 7+
100% customisable!
1. Prep the Ribbon
Step one is to get your ribbon all prepped.
To start, you’ll need to take your 5 rolls of ribbon, measure them and then cut them into 20cm strips, so a total of ninety pieces of ribbon.
Here, I recommend cutting the ends in a “V” shape like a traditional rosette for an elevated look. But don’t worry if the strips end up being a few millimetres off, as this lends the project a lovely, rustic vibe.
Also, since this step involves scissors, you might want to do the cutting yourself, but at the very least, ensure that your child is under tight supervision.
Once nicely snipped, separate the various colours/designs into piles for the next step.
2. Turn Your Ribbon Strips Into Bundles
Grab one of each type of prepped ribbon to make your ribbon bundles; these will form the basis of the Halloween wreath.
Layer them on top of each other, so every colour is visible, in a 10-pointed star arrangement.
Feel free to demonstrate to your little ones by completing the first couple of stars and then asking them to copy.
Together, pinch in the middle and tie up the bundle at the centre with your twine, pipe cleaners or thin ribbon for a pleated vibe. Leave the ends untrimmed as we’ll need those later.
In total, with your pre-made ribbon strips, you should be able to make 18 bundles with the kiddos.
3. Build Out Your Wreath Form
Get your mitts on the wired wreath base, ready to bulk it out with your ribbon work.
Usually, the premade skeletons have 2–3 rings and a couple of crossbars for attaching the material.
Using this structure, it’s time to bring it all to life!
Start off by attaching the bundles to each wired section. Often this stops at six, but if your base divides into more, no stress, you can always add additional ribbon bundles to achieve full coverage.
To make sure nothing falls off, attach each one securely: take the ends of the central knot holding the bundles together and tie them onto the wire. With that done, you can finally get round to trimming the excess.
Again, remember to take extra care with the scissors.
Repeat until the base is fully covered and looking decidedly more wreath-like.
4. The Final Flourishes
It might look done at this point, but what’s a kiddy craft without an overindulgent amount of decoration? Amirite?
So, let them go craaazy.
Ghoulish skeletal hands, hanging ghosties, slime green pom poms, the casual eyeball, cutesy witches’ cats, a layer of cobwebs, skulls, pumpkins, spiders, bats — anything spine-tingling — nestle them within the ribbon to top it all off.
Lastly, add one large loop of ribbon at the back, so your children can hang it up on the front door or in their bedrooms.
These DIY ribbon wreaths look the part, frighteningly so, and make the loveliest, lasting memories with your family.